| Organization - Add/Delete/Edit Entries |
There are many way to add, delete, and edit entries in Instrument Manager™.
When you try to add Sound Objects that are already in the Database,c will alert you and ask if you want to replace them or not include them. The reason you may want to replace an entry is so you can remove all user-defined attachments, like Notes or keywords, etc. To add Sound Objects form proprietary disks/Virtual Drives, open the Proprietary Dialog and interact with that. Deleting Entries Editing Entries |
|
|
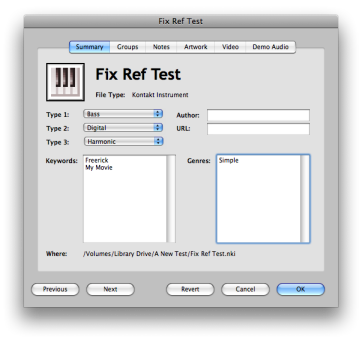
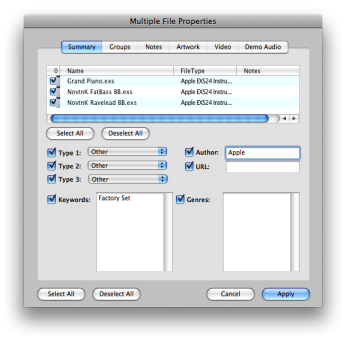
When you have one entry selected, the full scope of data for that entry will appear, and you can edit whatever you want in that entry. Clicking OK will save that data to the actual entry. You can also scan through the current lookup - if you change an entry, and then click Previous-Next, Instrument Manager™ will ask you if you want to save the changes to the entry. When you have multiple entries selected, the Multi-Edit Properties dialog will appear. Edit the individual fields, but you the checkbox next to the field must be checked to incur the change to the entries. All the entries subject to edit are shown on the list on the first tab. Clicking OK saves the data to the entries selected. |
|
 Adding Entries